


Once the neck was off, I sanded the heel of the neck, taking more off from the area by the fretboard and tapering to taking nothing off at the heel cap. This tilted the headstock forward, and reduced the gap from the straight-edge to the bridge to about 1/16". It took longer to do than to write, but I was glad I took the time. A guitar that doesn't feel good in the hands or isn't easy to play won't get played, so its appearance or tone won't matter.
Next I had to drill a slot in the bridge for the saddle. This slot isn't perpendicular to the front of the saddle but is angled due to the fact that the are different thicknesses and therefore do not stretch the same amount over a given scale length. The higher up the neck a string is fretted, the worse the problem gets. In order to compensate for these different stretch characteristics, the string length between the nut and saddle needs to be increased for the thicker strings.
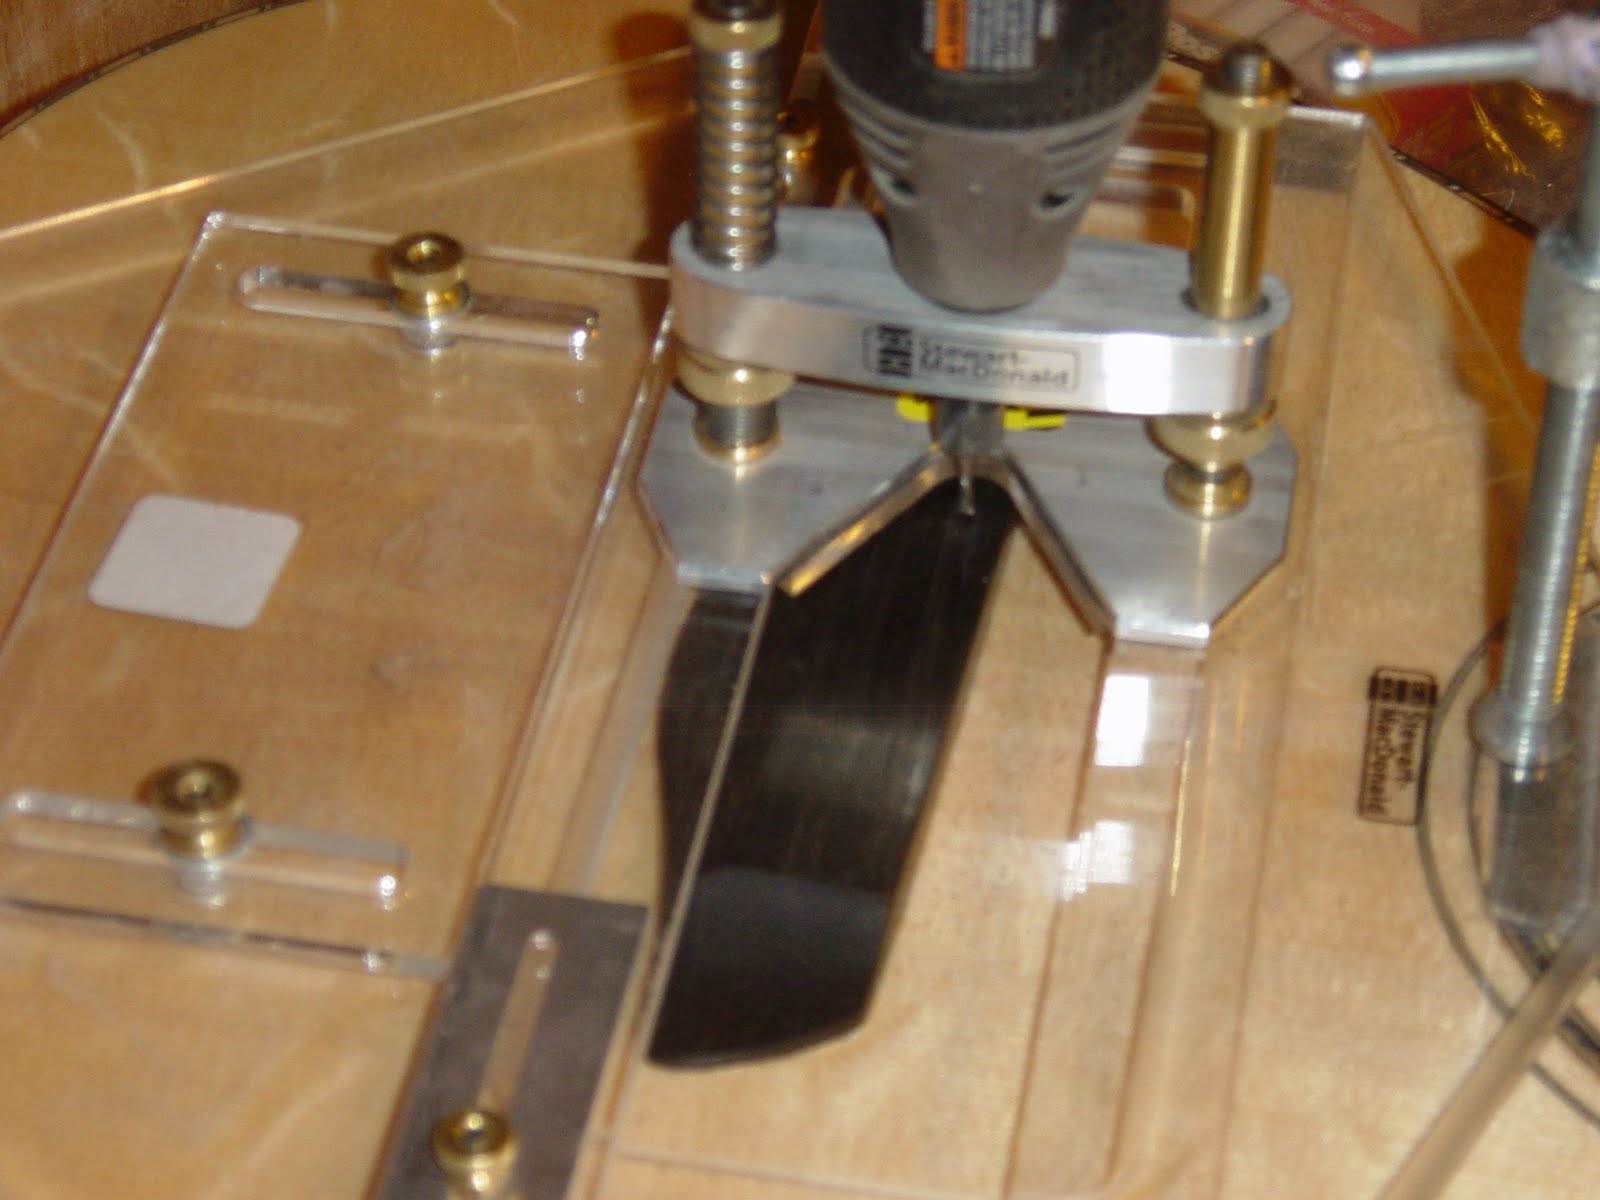
Once the position and angle of the saddle slot has been determined, I use a jig clamped to the top and the Dremel to rout out the slot.

The saddle is made of bone like the nut. It gets shaped to fit snug in the slot, half in and half out. On the first or high E string I want the height above the 12th fret to be about 5/64", and I want it to be about 7/64" at the sixth or low E string. It just so happens that a stack of four pieces of poster board is 5/64", and a stack of 7 is 7/64". Don't question the math on that one, it's just an approximation, but close enough. I'll dial it in later.
I lay four pieces on the 12th fret at the position of the 1st string, lay a straight-edge on them with one end of the 1st fret and one just in front of the saddle, and mark this on the saddle. I do the same with seven pieces of poster board at the sixth string. I use the 16" radius sanding block to connect these two points so that the saddle curve matches the radius of the fretboard. I then sand and file down to this line.
Next I mark out the string spacing I want at the saddle, then drill holes for the bridge pins. I counter-sink these holes, then use a small piece of a coping saw blade, exposed in a dowel, to saw string slots in the holes. Here's what it looks like:

OK, now it's time to string it up!
No comments:
Post a Comment